Hey everyone, hope you’re having an incredible day today. Today, I’m gonna show you how to prepare a special dish, thai mango sticky rice (khao niaow ma muang - ข้าวเหนียวมะม่วง). It is one of my favorites. For mine, I will make it a little bit unique. This is gonna smell and look delicious.
The classic Thai dessert known as khao niaow ma muang (mango sticky rice) is heavenly and scrumptious. Famously served as street food in Thailand and at Thai restaurants throughout the world, the taste of this tropical rice pudding is irresistible—and it's easy to make at home. The most famous Thai dessert, and for good reason! Sweet sticky rice pairs so well with sweet-juicy-tart mango.
Thai mango sticky rice (khao niaow ma muang - ข้าวเหนียวมะม่วง) is one of the most popular of current trending meals in the world. It is easy, it is fast, it tastes yummy. It is enjoyed by millions every day. Thai mango sticky rice (khao niaow ma muang - ข้าวเหนียวมะม่วง) is something that I’ve loved my entire life. They are nice and they look fantastic.
To begin with this particular recipe, we must prepare a few components. You can cook thai mango sticky rice (khao niaow ma muang - ข้าวเหนียวมะม่วง) using 14 ingredients and 10 steps. Here is how you can achieve that.
The ingredients needed to make Thai mango sticky rice (khao niaow ma muang - ข้าวเหนียวมะม่วง):
- Get Cooking the sticky rice:
- Get water (may need to add more or less to steam the sticky rice)
- Prepare glutinous rice (sticky rice, add more or less depending on preference)
- Get Sweet coconut milk sauce:
- Take coconut milk (of 400ml can)
- Get sugar (palm or caster sugar. Add more or less)
- Make ready Salty sweet coconut milk sauce topping:
- Make ready remaining coconut milk (of 400ml can)
- Get sugar (palm or caster sugar, add more or less depending on preference)
- Make ready salt (add more or less depending on preference)
- Make ready Serving:
- Get ripe mangoes (alphonso is best), sliced
- Prepare Salty sweet coconut milk sauce (topping)
- Make ready sesame seeds, for garnish (optional)
Mango on Sticky Rice is a traditional summer dessert because mangoes are in season during the summer months of April and May in Thailand. It is between Khao San Road and Wat Benchamabophit aka the marble temple. And I love the sweet, sticky rice, called "Khao Niaow Moon" or "Khao Niao Mun" in Thai. But putting them together isn't the way to eat them for me.
Steps to make Thai mango sticky rice (khao niaow ma muang - ข้าวเหนียวมะม่วง):
- Add glutinous rice into a sieve, wash rice several times in cold water until water is clear. Tip: use a whisk to clean the rice, rather than fingers. Makes it easier.
- Transfer cleaned sticky rice to a bowl. Add cold water enough to submerge rice, and cover with a lid or cling film. Soak for 3-4 hours or overnight.
- Once rice has soaked long enough, in a medium size rice cooker (that comes with a steamer basket), add water to the rice pot. Place steamer basket on top. Or use a wok, add enough water and place bamboo steamer on top. Then drain water from the sticky rice using a sieve to catch all of the rice grains.
- Transfer sticky rice into a muslin cloth and place rice in steamer basket and tie up. Tip: Water should not touch the rice steamer. Steam the rice for 30 to 40 minutes, or until rice is tender and translucent. Stir the rice occasionally to ensure all the grains cook evenly, and check water level (add more if required).
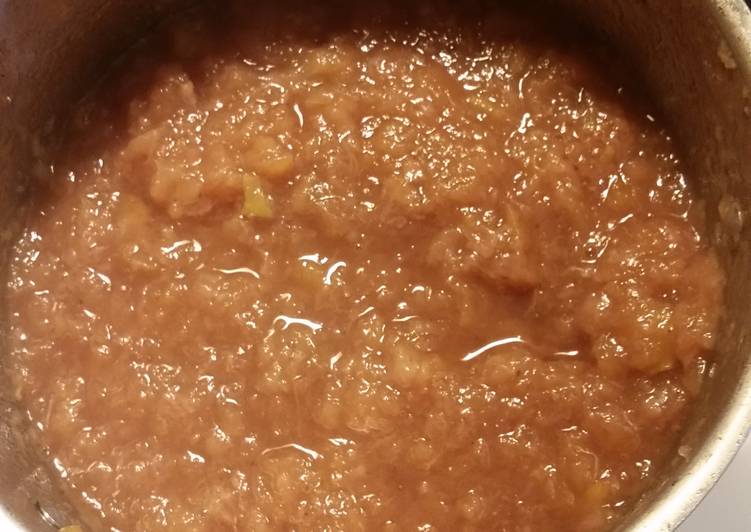
- In the meantime, to make the sweet coconut milk sauce, in a medium size saucepan add 1 cup coconut milk. On medium heat, bring to gentle simmer. Add sugar, stirring frequently until all of the sugar has dissolved and taste, it should sweet taste (adjust taste, add more sugar depending on preference). Ensure you do not boil the mixture. Once coconut milk is hot remove pot from heat and cover with a lid to keep mixture warm.
- Once the rice is cooked, remove from the steamer basket and transfer rice from muslin into a large bowl. Then add the warm sweet coconut milk mixture, mix and stir coating every grain of rice. Set aside the rice, cover with cling film to let the coconut milk mixture get fully absorbed (between 35 to 40 minutes).
- Peel the mango(es) and slice each piece into thin lengthways slices. Then set aside.
- Now to make the salty sweet sauce topping add the remaining coconut milk into a small saucepan. On low heat bring to gentle simmer. Add sugar and salt and keep stirring occasionally, until all of the sugar and salt has dissolved. Taste and adjust if needed (add more sugar or salt depending on preference). It should have a salty sweet taste. Cook for about a minute or until warm. Then transfer the sweet and salty coconut milk topping sauce into a serving bowl. Let it cool to thicken slightly.
- To serve, use a small rice bowl add sticky rice and mould (this forms a round shape). Tip: place cling film in bowl prior to adding rice, this helps to prevent rice sticking to the bowl. Or make any shaped rice.
- Place the moulded or shaped rice onto a serving plate. Along with a few or many slices of mango. Spoon over as little or as much of the thickened sweet and salty coconut milk over the sticky rice. Sprinkle with sesame (if using). Serve and eat immediately while fresh and the sweet and salt coconut milk sauce topping is warm.
And I love the sweet, sticky rice, called "Khao Niaow Moon" or "Khao Niao Mun" in Thai. But putting them together isn't the way to eat them for me. I feel that the sweet, sticky rice makes the mango tangy for no good reason if I eat them together. If I eat the mango alone the mango is sweet like fruit. See more ideas about mango sticky rice, food, thai dessert.
So that is going to wrap this up with this exceptional food thai mango sticky rice (khao niaow ma muang - ข้าวเหนียวมะม่วง) recipe. Thanks so much for your time. I’m confident you will make this at home. There is gonna be more interesting food in home recipes coming up. Remember to save this page in your browser, and share it to your family, colleague and friends. Thanks again for reading. Go on get cooking!